How to Make Homemade Fertilizer for Plants, Creating a sustainable and thriving garden involves not just a passion for plants but also a deep understanding of their needs, one of which is nutrition. The concept of homemade fertilizers offers a bridge between the traditional gardening ethos and the modern push towards sustainability. In this comprehensive guide, we’ll explore how to craft your own plant nutrition from scratch, why it surpasses store-bought alternatives, and delve into a step-by-step process to nourish your garden in the most organic way possible.
Plants, like any living being, require food to grow. This food comes in the form of fertilizers, which provide essential nutrients such as nitrogen, phosphorus, and potassium. However, the conventional route of purchasing fertilizers from stores can be both costly and ecologically unsound. The alternative? Homemade fertilizers. This guide will take you through the journey of creating your very own garden elixir, tailored to the specific needs of your plants and the environment.
How Does It Help?
Homemade fertilizers offer a multitude of benefits for both your garden and the environment. Firstly, they reduce waste by repurposing kitchen scraps and yard waste, turning what would be garbage into garden gold. Secondly, they improve soil structure, enhancing its ability to retain water and air, which are crucial for plant growth. Thirdly, they provide a slow release of nutrients, mimicking the natural feeding process of plants in the wild. This gradual nourishment supports steady, healthy growth and reduces the risk of nutrient burn, which can occur with synthetic fertilizers. Noted down are the benefits of homemade fertilizers:
- Nutrient-Rich Soil: Homemade fertilizers enrich the soil with essential nutrients that plants need to thrive. By recycling kitchen scraps, yard waste, and other organic materials, you’re turning potential waste into a treasure trove of nutrients like nitrogen, phosphorus, and potassium, as well as important micronutrients.
- Improved Soil Structure: Adding organic matter to the soil through homemade compost improves its structure, making it better at retaining water and air. This not only helps plants access the moisture and oxygen they need but also fosters a healthier root system and overall plant growth.
- Promotes Soil Life: Homemade fertilizers support a vibrant ecosystem within the soil, including beneficial bacteria, fungi, and earthworms. These organisms play a critical role in breaking down organic matter into nutrients that plants can absorb, as well as in aerating the soil and fighting off pathogens.
- Sustainable Gardening Practice: By making and using your own fertilizers, you’re participating in a sustainable cycle that reduces waste and minimizes the need for chemical fertilizers, which can be harmful to the environment. This approach supports a healthier planet by conserving resources and reducing pollution.
- Customizable for Plant Needs: Homemade fertilizers can be customized to meet the specific nutritional needs of your garden. Whether your plants require more nitrogen for leafy growth, phosphorus for root development, or potassium for flowering and fruiting, you can adjust the ingredients in your homemade fertilizer to meet these needs, ensuring your garden is as healthy as possible.
Why Is It Better Than Store-Bought?
While store-bought fertilizers are convenient, they come with a litany of drawbacks. They often contain chemicals that can leach into groundwater, harming local ecosystems. Moreover, their production and transportation contribute significantly to carbon emissions. Homemade fertilizers, on the other hand, are environmentally friendly, cost-effective, and ensure that you know exactly what is going into your soil and plants. They encourage a circular economy, turning waste into resources, and foster a closer connection between gardeners and their gardens, promoting a deeper understanding of the natural world.
Here is why making fertilizers at home is better than spending a fortune on them:
- Eco-Friendly: Homemade fertilizers reduce the need for chemical alternatives, which can be harmful to the environment. By using organic waste, you’re minimizing your carbon footprint and contributing to a healthier ecosystem.
- Cost-Effective: Instead of purchasing fertilizers, you can save money by using materials you already have at home. Kitchen scraps, yard waste, and even aquarium water can become valuable resources for your garden.
- Reduces Waste: By composting kitchen and garden waste for fertilizer, you’re significantly reducing the amount of waste sent to landfills, contributing to a more sustainable planet.
- Enhanced Soil Health: Homemade fertilizers contribute to better soil structure and health by adding organic matter. This improves the soil’s water retention, aeration, and nutrient-holding capacity, leading to healthier plant growth.
- Slow-Release Nutrients: Many homemade fertilizers provide nutrients in a slow-release form, which is less likely to harm plant roots and provides a steady supply of nutrients over time, mimicking the natural ecosystem.
- Promotes Biodiversity: The organic matter in homemade fertilizers supports a rich biodiversity in the soil, including beneficial microbes and earthworms, which play a crucial role in nutrient cycling and plant health.
- Customizable: You can tailor homemade fertilizers to address the specific nutritional needs of your plants or garden, unlike one-size-fits-all commercial fertilizers.
- Chemical-Free: Homemade fertilizers are free from synthetic chemicals, making them a safer choice for growing food crops and reducing the risk of chemical runoff into waterways.
- Encourages Recycling: The practice of making your own fertilizer encourages a recycling mindset, fostering creativity and resourcefulness in utilizing what would otherwise be waste.
- Connects You to Your Garden: The process of creating and applying your own fertilizer fosters a deeper connection and understanding of your garden’s ecosystem, making gardening a more personal and rewarding experience.
Types of Homemade Fertilizer
1. Liquid Fertilizers
Liquid fertilizers are great for providing a quick nutrient boost. Soak compost or specific ingredients like seaweed, eggshells, or banana peels in water for several days. Strain the liquid, and dilute it until it looks like weak tea. This can then be applied directly to the soil around your plants.
2. Eggshell Fertilizer
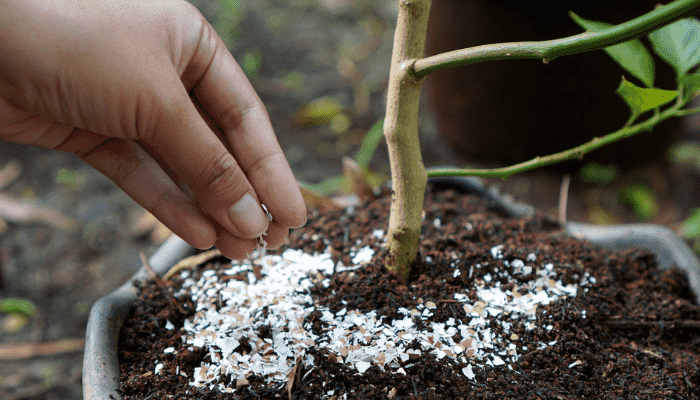
Wash and dry your eggshells, then grind them into a powder using a blender or mortar and pestle. Eggshells are rich in calcium, which is crucial for cell growth in plants. Sprinkle the powder directly into the soil to help prevent blossom end rot in tomatoes and peppers.
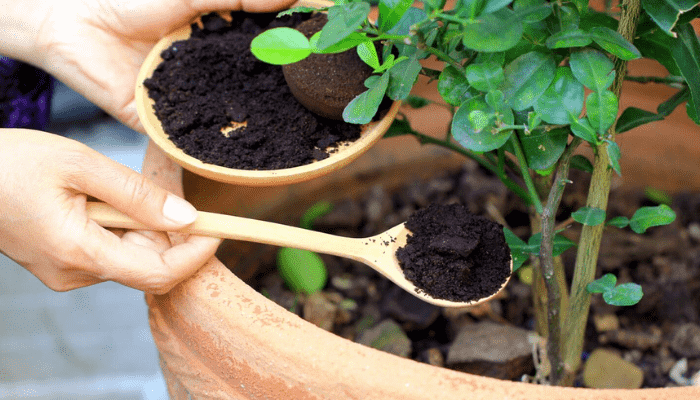
3. Coffee Ground Fertilizer
Coffee grounds are a source of nitrogen, which supports leafy growth. They can be mixed directly into the soil or added to your compost. However, use them sparingly, as they can lower the pH of the soil, which might not be suitable for all plants.
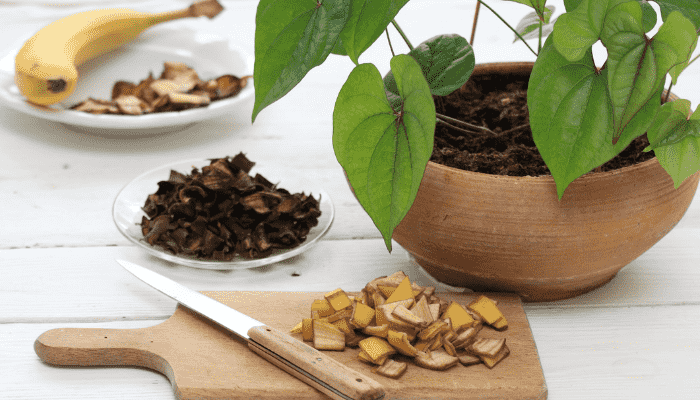
4. Banana Peel Fertilizer
Banana peels are high in potassium, essential for flower and fruit development. Dry the peels, then blend them into a powder or steep them in water to make a liquid fertilizer. This is particularly beneficial for roses and tomatoes.
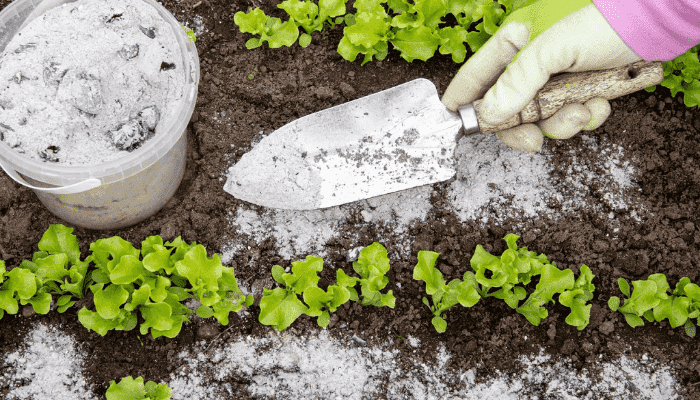
5. Wood Ash Fertilizer
A fireplace is perfect for making wood ash, a valuable source of potassium and calcium. Sprinkle it sparingly around your garden, but avoid areas where you’re growing acid-loving plants, as ash raises soil pH.
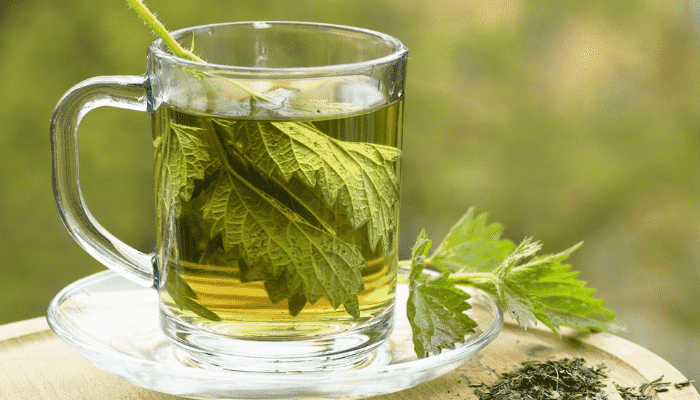
6. Nettle and Comfrey tea
These plants are not just weeds; they’re nutrient powerhouses. Soak the leaves in water for a few weeks, then use the strained liquid as a potent fertilizer. Wear gloves when handling nettles to avoid stings.
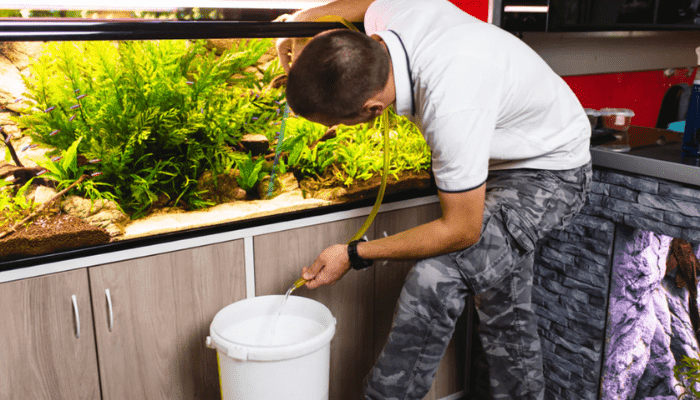
7. Fish Tank Water
When you clean your aquarium, save the water. It’s rich in nitrogen and other nutrients, making it a fantastic fertilizer for your plants. But, remember to make sure that it is from a freshwater tank.
8. Molasses Solution
Molasses is a great source of iron, calcium, and potassium. Mix it with water, and use it to feed your plants. It also feeds beneficial bacteria in the soil, improving soil health.

Step-by-Step Guide to Making and Using Homemade Fertilizers
Step 1: Collect Organic Waste
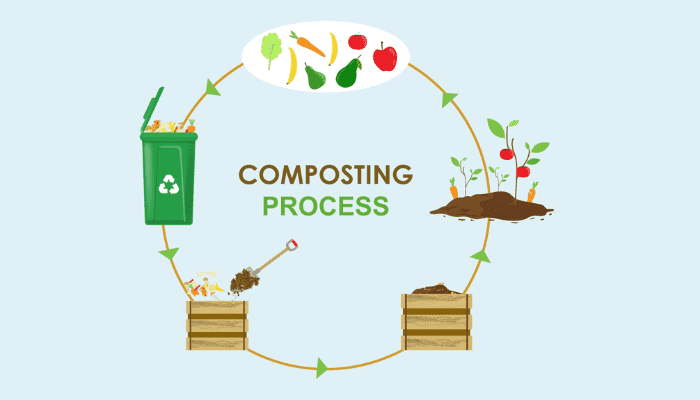
Begin by collecting organic kitchen waste such as fruit peels, vegetable scraps, coffee grounds, and eggshells. Yard waste like grass clippings and fallen leaves can also be valuable. Keep separate containers for kitchen and yard waste to make the process smoother.
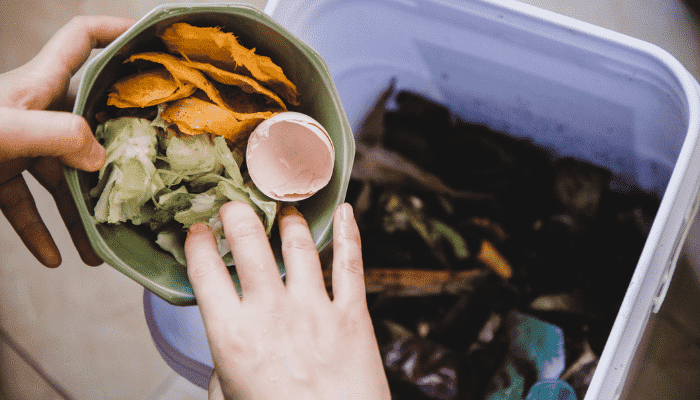
Step 2: Start a Compost Bin
Allocate a space for a compost bin in your yard. You can either build one or buy a ready-made compost bin. Start layering your collected organic waste, alternating between green (kitchen scraps, grass clippings) and brown materials (leaves, shredded paper). This mix provides a balanced diet for the composting process.
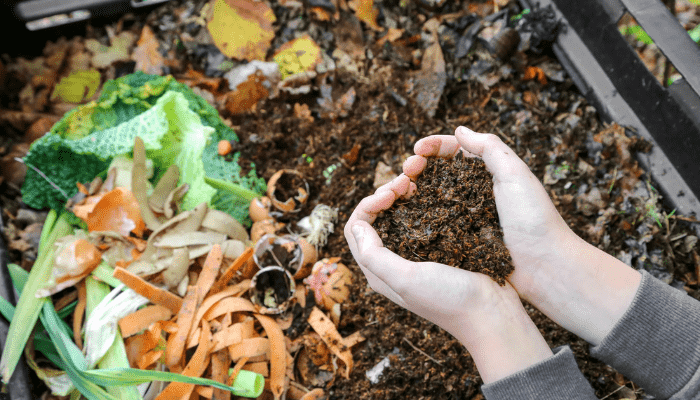
Step 3: Maintain your compost bin
To speed up the composting process, turn your compost pile every few weeks to aerate it. Ensure the compost stays moist, like a wrung-out sponge, to facilitate decomposition. This process can take anywhere from a few months to a year.
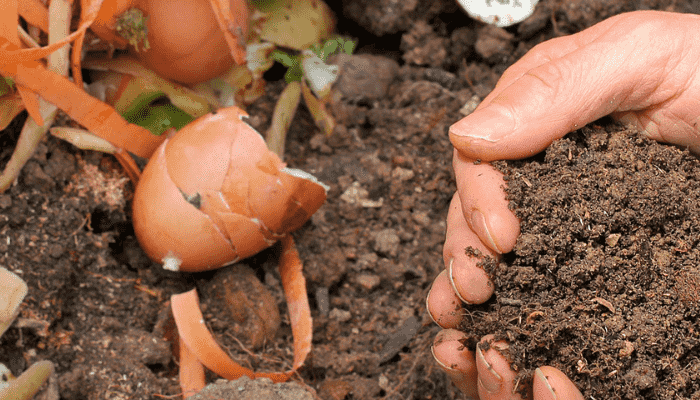
Step 4: How to make liquid fertilizer for plants (Optional)
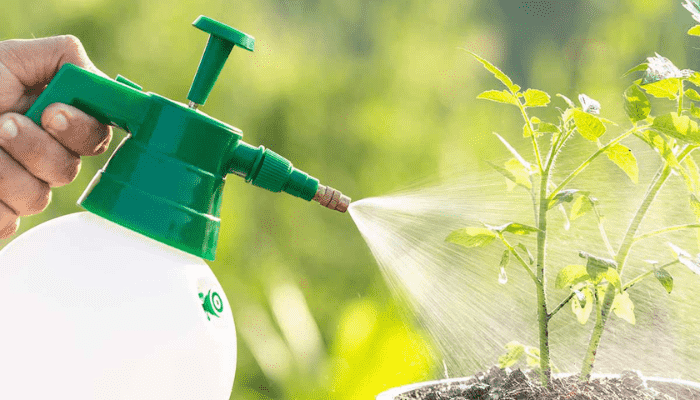
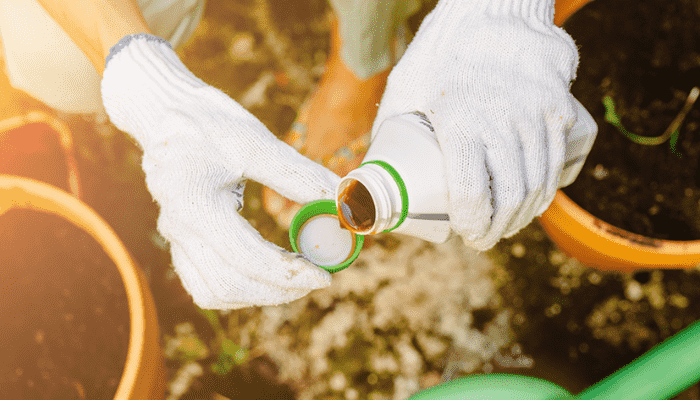
For a quick nutrient boost, you can create liquid fertilizers. Fill a container with water and add compost or specific materials like banana peels or coffee grounds. Let it steep for a few days, then strain the liquid and dilute it until it’s the color of weak tea. This solution can be applied directly to the soil or used as a foliar spray.
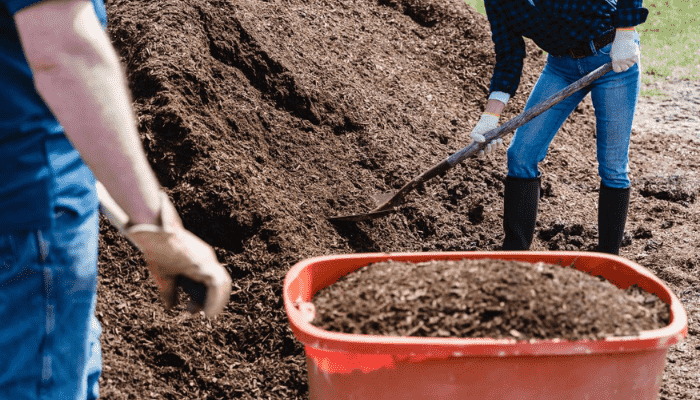
Step 5: Harvesting of compost
Once your compost has turned into a dark, crumbly soil-like material, it’s ready to use. You should no longer be able to identify the original materials.
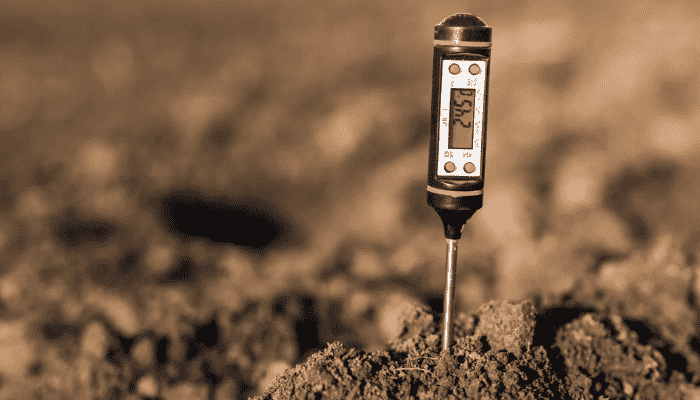
Step 6: Test Your Soil
Before applying homemade fertilizer, test your soil to understand its current nutrient levels and pH. This will help you determine what your soil needs, ensuring you don’t over-fertilize or create nutrient imbalances.
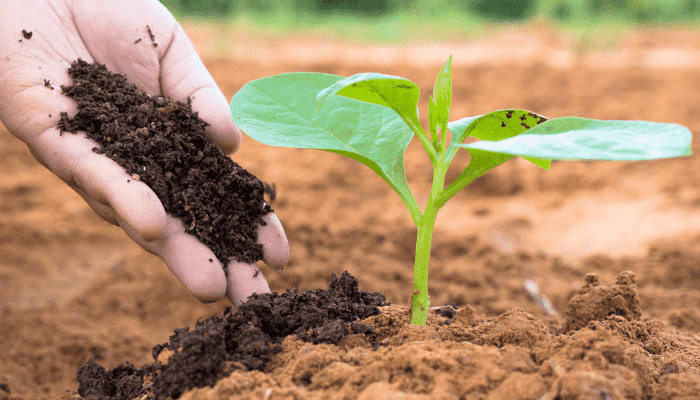
Step 7: How do you apply compost to your garden
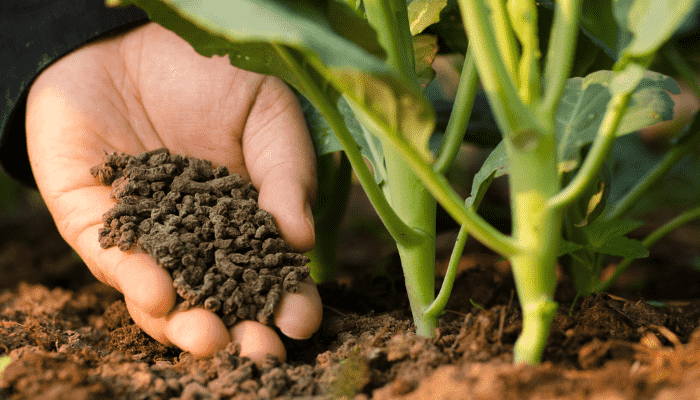
Mix your finished compost into the soil around your plants or use it as a top dressing. For potted plants, replace a portion of the potting soil with compost. This will slowly release nutrients into the soil, enriching it.
Step 8: Use Specific Fertilizers for Targeted Needs
Based on your soil test, you may need to address specific nutrient deficiencies. Use eggshell powder for calcium, banana peel tea for potassium, or coffee grounds for nitrogen. Apply these homemade fertilizers around the base of your plants or mix them into the soil.
Step 9: Observe the plant and Adjust
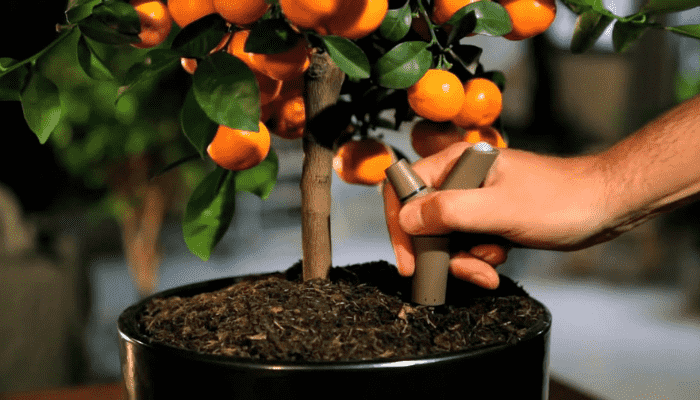
Monitor your plants’ response to the homemade fertilizers. Look for signs of improvement or distress, adjusting your fertilization strategy as needed. Some plants may require more frequent feeding, while others thrive with less.
Step 10: Continue the compost life cycle
Keep collecting organic waste and adding to your compost bin. This sustainable cycle not only reduces kitchen and yard waste but also continuously enriches your garden soil, promoting a vibrant, healthy garden ecosystem.
Nurturing Growth, Sustaining the Earth
Making your own fertilizer is not just an act of gardening; it’s an act of stewardship for the planet. By recycling kitchen and yard waste into plant food, you’re participating in a cycle of growth and renewal that benefits not only your garden but also the environment. The process encourages mindfulness of the natural world and fosters a deeper connection with the earth. As you watch your garden thrive, nourished by the very waste you transformed into treasure, you’ll find a profound sense of satisfaction knowing you’ve returned to the earth what it has given so generously. Let this guide be your first step towards a more sustainable and fulfilling gardening journey.


